SUPER DRIVING | #6H8-23J32-1
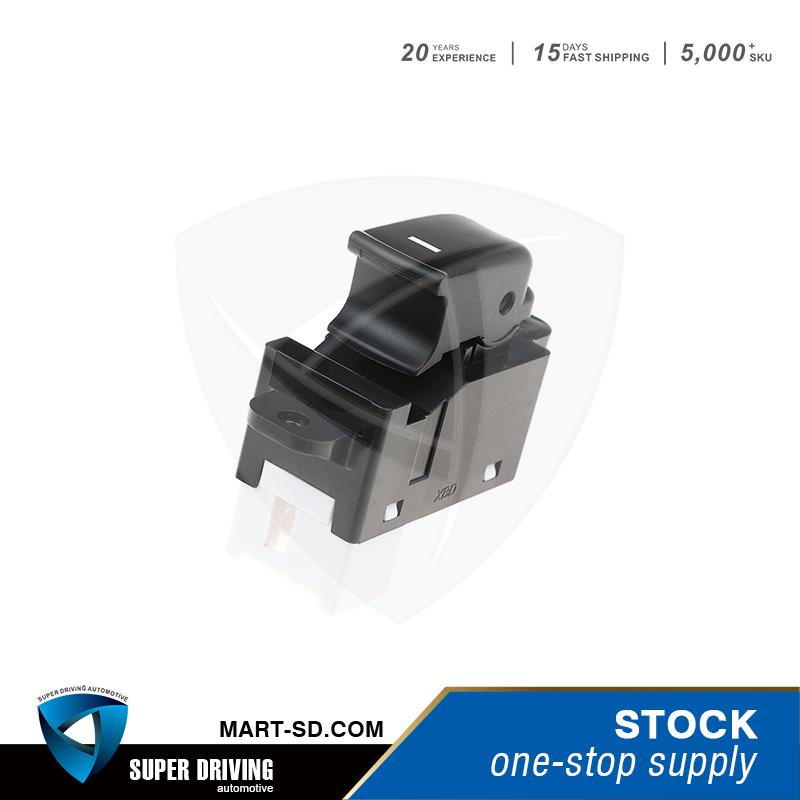
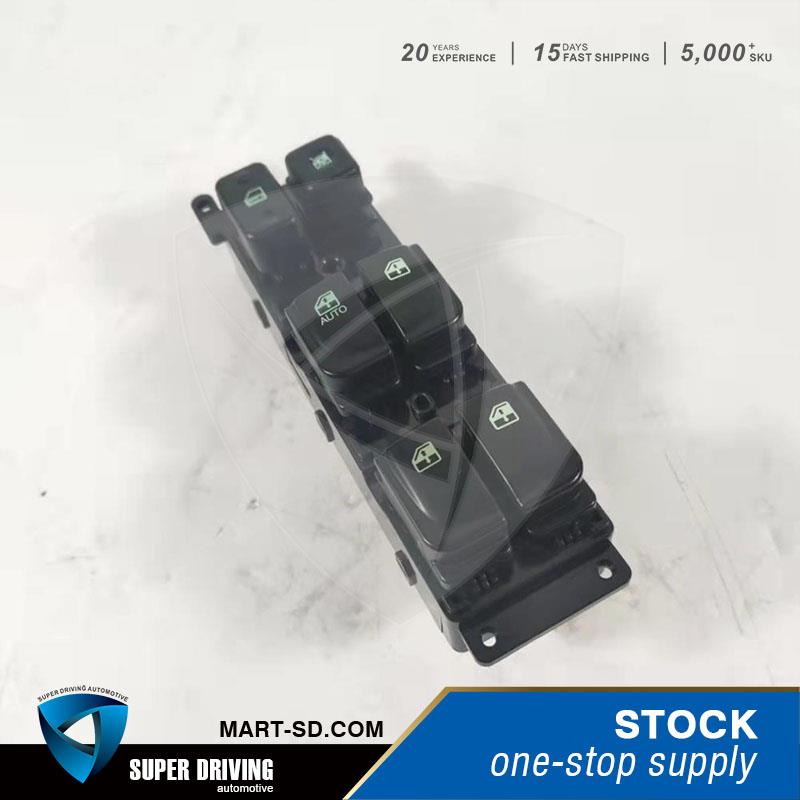
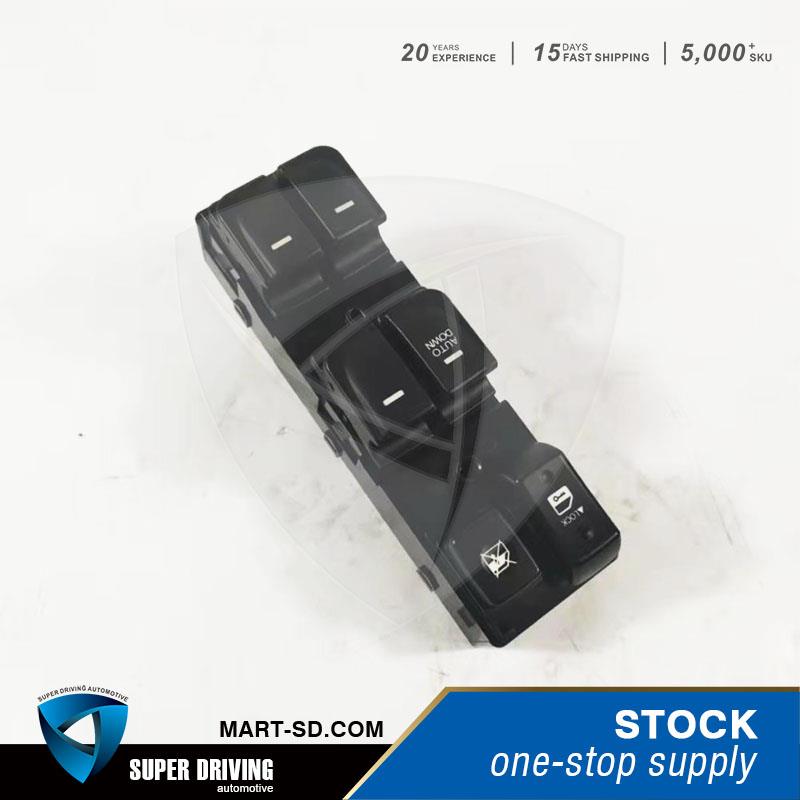
Power Window Switch -F/L OE:25401-JN03A for NISSAN TEANA
 For Price & Discount, Please
 Quality is Guaranteed, Service is Reasurring
 Premium Quality
- Undergoing rigorous testing
- Excels in performance
- More durable and reliable
 Perfect Fit
- Crafted by professional engineers
- Easy installation
- 100% fit guarantee
 After-sale Service
- Technical support
- After-Sales consultation
- Replacement service
 FAQs
FAQs Policy
 See More
"You may also like:"


- SD NO: 6H8-23J32-1
- NAME: SWITCH A-P/WDO
- CTN: 49.00 * 38.50 * 37.50
- G.W: 7.00
- OE NO: 25401-JN03A
- PSC/CTN: 100.00
| Applicable models | Model | Year | Engine |
| NISSAN | TEANA(J32) | 2008-2013 |
Step 0: Locate the door with the damaged or faulty power window switch. Visually look at the switch for any exterior damage.
Gently press down on the switch to see if the window will go down. Gently pull up on the switch to see if the window will go up.
Note: Some vehicles only operate the power windows with the key in the ignition and the tumbler turned on or in the accessories position.
Step 1: Park your vehicle on a flat, hard surface.
Step 2: Place wheel chocks around the rear tires. Engage the parking brake to lock the rear tires from moving.
Step 3: Install a nine volt battery saver into your cigarette lighter. This will keep your computer live and keep your setting current in the vehicle.
Step 4: Open the vehicle’s hood to disconnect your battery. Take the ground cable off of the battery’s negative post disabling the power to the power window switches.
Step 5: Locate the door with the faulty power window switch. Using a flat tip screwdriver, slightly pry up all around the switch base or cluster.
Pop out the switch base or cluster and remove the harness from the switch.
Step 6: Pry out the locking tabs. Using a small pocket flat tip screwdriver, slightly pry on the locking tabs on the power window switch.
Pull out the switch from the base or cluster. You may need to use needle nose plyers to help pull out the switch.
Step 7: Get electrical cleaner and clean out the harness. This removes any moisture and debris to create a complete connection.
Step 8: Pop the new power window switch into the door lock cluster. Ensure that the locking tabs snap onto the power window switch keeping it secured.
Step 9: Hook up the harness to the power window base or cluster. Snap the power window base or cluster into the door panel.
You may need to use a pocket flat tip screwdriver to help the locking tabs slide into the door panel.
Step 10: Locate the door with the faulty power window switch.
Step 11: Remove the inner door handle. To do this, pry the cup-shaped plastic cover out from under the door handle.
This component is separate from the plastic rim around the handle. There is a gap in the forward edge of the cup-shaped cover, so you can insert a flat screwdriver. Remove the cover, and underneath there is a cross tip head screw which must be removed. The plastic rim can then be removed from around the handle.
Step 12: Remove the panel on the inside of the door. Gently pry the panel away from the door all the way around.
A flat screwdriver or a lisle door tool (preferred) helps here, but be gentle so you don’t damage the painted door around the panel. Once all the clips are loose, grab the panel top and bottom and bend it slightly away from the door.
Lift the whole panel straight up to lift it clear of the catch behind the door handle. As you do this, a large coil spring will fall out. This spring sits behind the window winder handle, and it’s somewhat fiddly to get back into place as you reinstall the panel.
l Note: Some vehicles may have bolts or torques bit screws that hold the panel secured to the door. Also, you may need to disconnect the door latch cable to remove the door panel. The speaker may need to be removed from the door panel if mounted from the outside.
Step 13: Pry on the locking tabs. Using a small pocket flat tip screwdriver, slightly pry on the locking tabs on the power window switch.
Pull out the switch from the base or cluster. You may need to use needle nose plyers to help pull out the switch.
Step 14: Get electrical cleaner and clean out the harness. This removes any moisture and debris to create a complete connection.
Step 15: Pop the new power window switch into the door lock cluster. Ensure that the locking tabs snap onto the power window switch, which keeps it secured.
Step 16: Hook up the harness to the power window base or cluster.
Step 17: Install the door panel onto the door. Slide the door panel down and in towards the front of the car to ensure that the door handle is in place.
Snap all of the door tabs into the door securing the door panel.
If you removed the bolts or screw from the door panel, make sure that you reinstall them. Also, if you disconnected the door latch cable to remove the door panel, make sure that you reconnect the door latch cable. Finally, if you had to remove the speaker from the door panel, be sure to reinstall the speaker.
Step 18: Install the inner door handle. Install the screws to secure the door handle to the door panel.
Snap the screw cover in place.
Step 19: Open the vehicle’s hood if it is not already open. Reconnect the ground cable back onto the battery’s negative post.
Remove the nine volt battery saver from the cigarette lighter.
Step 20: Tighten the battery clamp. Ensure that the connection is good.
l Note: If you did not have a nine volt battery saver, you will have to reset all of the settings in your vehicle, like your radio, electric seats, and electric mirrors.
Step 21: Remove the wheel chocks from the vehicle. Clean up your tools as well.
Step 22: Check the power switch function. Turn the key to the on position and press on the up side of the switch.
The door window should go up with the door open or the door closed. Press the down side of the switch. The door window should go down with the door open or the door closed.
Press on the cut out switch to lock the passenger windows. Check each window to make sure they are locked. Now, press on the cut out switch to unlock the passenger windows. Check each window to make sure they operate.
If your door window does not open after replacing the power window switch, then there may be further diagnosis of the power window switch assembly needed or a possible electronic component failure. If you do not feel confident doing the job yourself, have one of YourMechanic’s certified technicians perform a replacement.
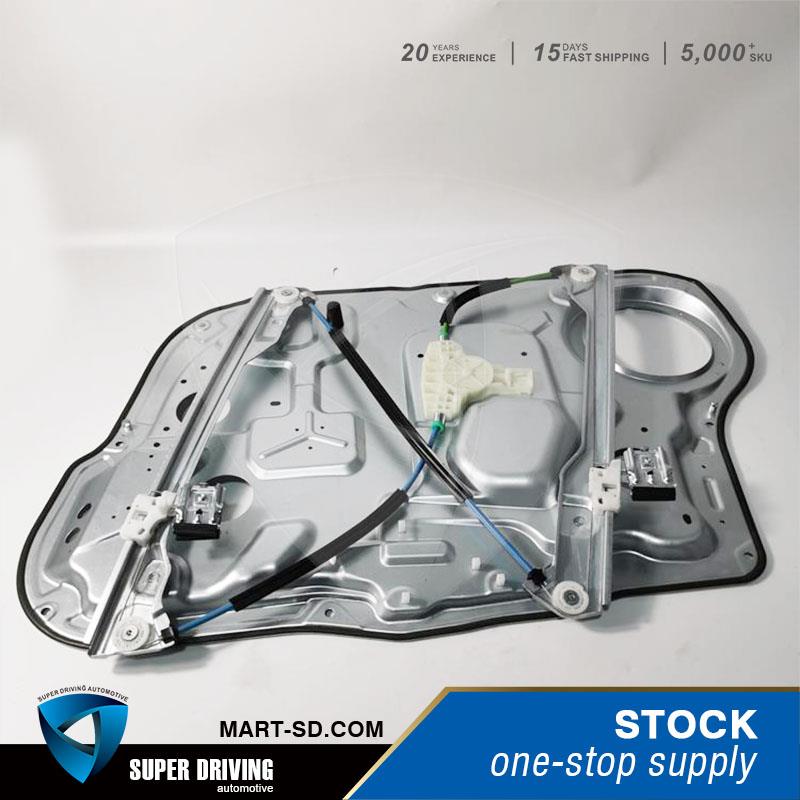
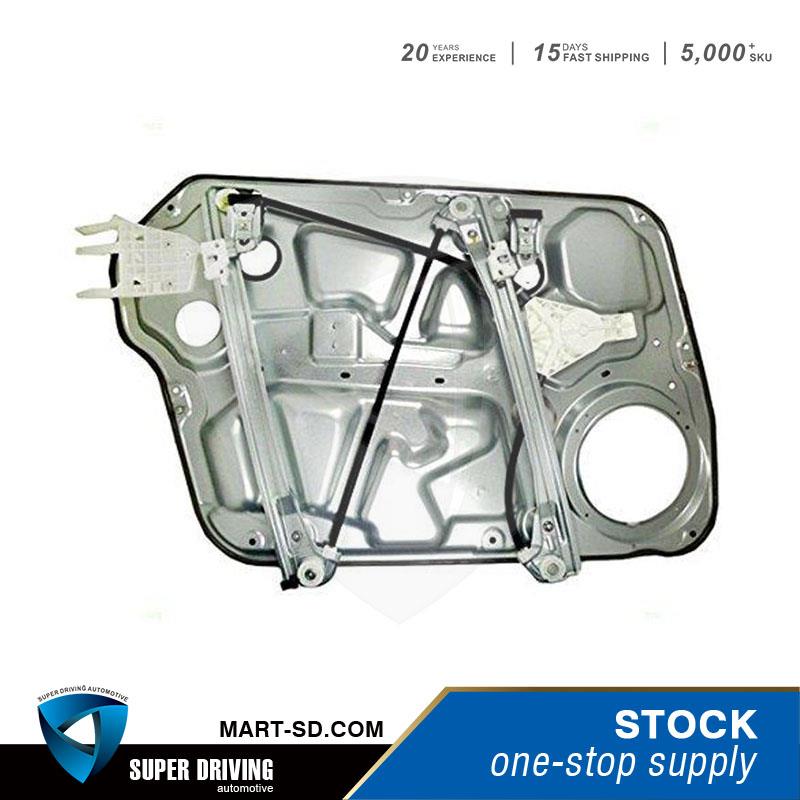
Super Driving automotive parts are used to speed up the installation process, saving time and money.
Trustworthy replacement - engineered and tested to match the fit, function and performance of the original window regulator on specified vehicles;
Time-saving solution - redesigned installation process adds convenience and saves labor time compared to original equipment design;
Easy to install - no special tools required to install this window regulator;
Reliable design - engineered all over the world and tested by cycling thousands of times in an actual vehicle door to ensure a long, trouble-free service life.
Super Driving automotive door system parts are used to speed up the installation process, saving time and money.
Trustworthy replacement - engineered and tested to match the fit, function and performance of the original window regulator on specified vehicles;
Time-saving solution - redesigned installation process adds convenience and saves labor time compared to original equipment design;
Easy to install - no special tools required to install this window regulator;
Reliable design - engineered all over the world and tested by cycling thousands of times in an actual vehicle door to ensure a long, trouble-free service life.
-

Facebook
Facebook
-

WhatsApp
WhatsApp
-

WeChat
WeChat