Hello friends! Today, we're sharing an incredibly useful guide on engine mounts maintenance and replacement, helping you navigate car maintenance with ease!
When to Perform Maintenance and Replacement?
1. Signs of Leakage: If you notice any liquid leaks in the engine compartment, especially coolant or oil, it could be a sign of issues with the engine gasket.Timely inspection and repair are necessary.
2. Unusual Vibrations and Noises: A damaged engine gasket can lead to abnormal vibrations and noises during engine operation. This may indicate the need for inspection or replacement.
3. Abnormal Engine Temperature: Wear or aging of the engine gasket can result in engine overheating. Timely replacement can prevent engine damage due to overheating.
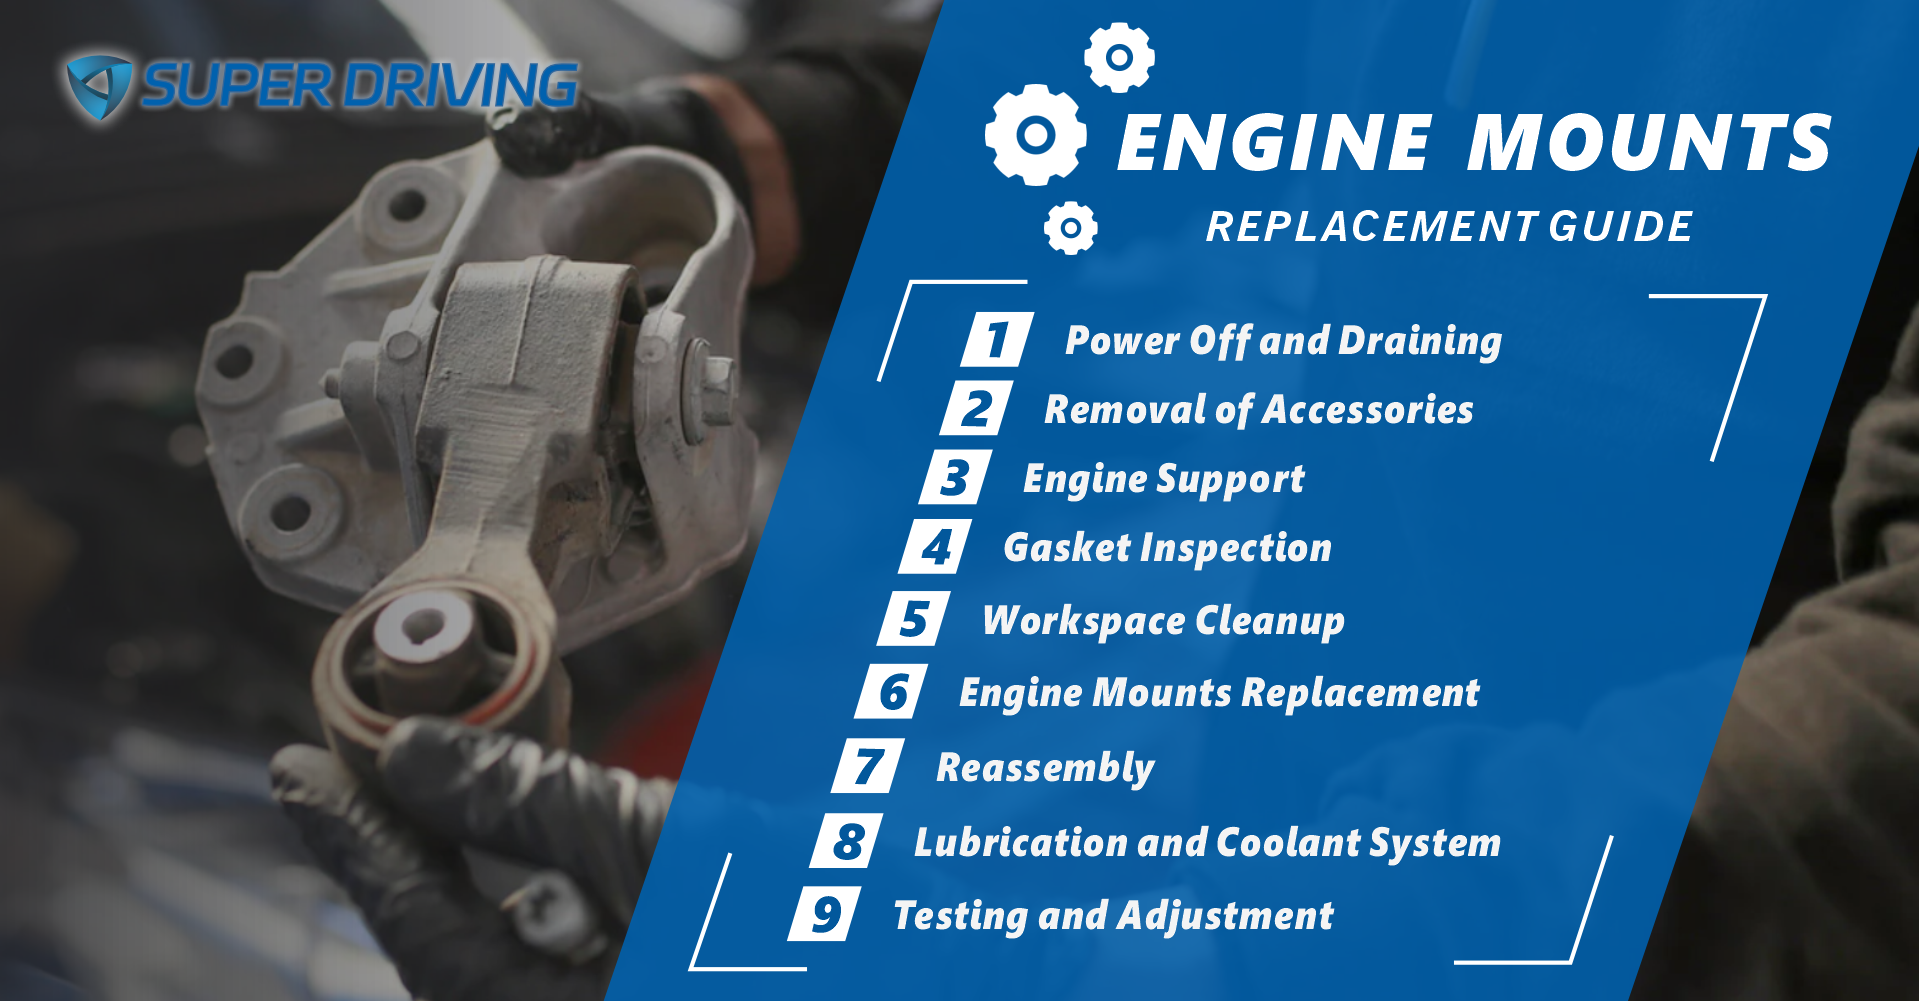
Replacement Steps:
- 1. Disconnect Power and Drain Cooling System:
- Ensure vehicle safety by turning off the power and draining the cooling system. Properly handle coolant to protect the environment.
- 2. Remove Accessories and Attachments:
- Remove the engine cover, disconnect the battery cables, and release the exhaust system. Uninstall transmission components, ensuring a systematic disassembly. Be cautious to prevent short circuits.
- Remove accessories connected to the engine gasket, such as fans and drive belts, and disconnect all electrical and hydraulic connections.
- 3. Engine Support:
- Use appropriate support tools to secure the engine, ensuring safety and control during maintenance and replacement.
- 4. Gaskets Inspection:
- Thoroughly inspect the engine gasket for wear, cracks, or deformities. Ensure a tidy workspace.
- 5. Clean the Workspace:
- Clean the workspace, remove debris, and use suitable cleansers to wash related components, maintaining a tidy repair environment.
- 6. Replace the Engine Gasket:
- Carefully remove the old gasket, ensuring the new one matches, and use appropriate lubrication before installation.
- 7. Reassemble:
- When reassembling, follow the reverse order of disassembly steps, tightening all bolts securely and ensuring proper installation of each component.
- 8. Lubrication and Cooling System:
- Inject new coolant, ensure engine lubrication, and check for any coolant leaks in the cooling system.
- 9. Test and Adjust:
- Start the engine, run it for a few minutes, and check for abnormal sounds and vibrations. Inspect the engine surroundings for any signs of oil leakage.
Professional Tips:
- Depending on the car model, disassembly and removal steps for accessories may vary; consult the vehicle manual.
- Each step includes professional advice and precautions to maintain a high level of vigilance and ensure safety.
- Follow the manufacturer's recommendations and guidance to ensure the safety of the operating process.
Post time: Nov-12-2023